
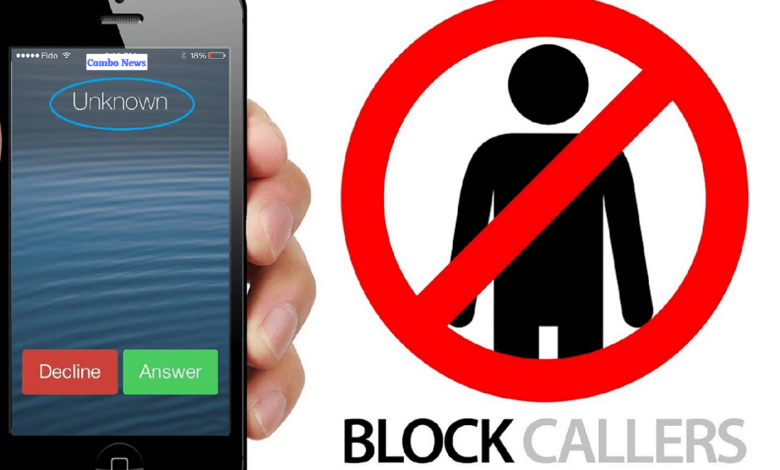
Block No Caller ID Calls on iPhone
How Do You Block No Caller ID Calls on iPhone?
There are numerous ways to block calls without a caller ID on the iPhone. The phone has various features that are especially intended to stop these calls, and it also provides you with some tools that you can customise for this purpose. The national Do Not Call registration and your phone provider can both be of use to you.
Silence Unknown Callers on iPhone
The simplest way to Block No Caller ID Calls on iPhone is to use a built-in feature by following these steps:
- In the Settings app, tap Phone.
- Tap Silence Unknown Callers.
- Move the Silence Unknown Callers slider to on/green. With that done, all calls from numbers not in your address book are automatically silenced and sent to voicemail.
The majority of phone companies offer for-profit services to stop telemarketing and fraud Block No Caller ID Calls. The features of the iPhone should be sufficient for most users; nevertheless, if you find them inadequate or require more call screening, get in touch with your phone provider. You should budget an additional few dollars every month for this service.
Block No Caller ID Calls on iPhone With Do Not Disturb
You can Block No Caller ID Calls, texts, app alerts, and other types of notifications on the iPhone using the Do Not Disturb function under specific circumstances and times. The function can be used to block obtrusive calls while also allowing you to concentrate on your work, driving, or sleeping. This is how:
- In the Settings app, tap Focus.
- Tap Do Not Disturb.
- Move Do Not Disturb slider to on/green.
- In the Allowed Notifications section, tap People.
- In the Also Allow section, tap Calls From.
- Tap All Contacts. With this done, you’ll get calls from anyone in your iPhone address book app, but all other calls from any number not in your address book will be silenced and sent directly to voicemail.
Block No Caller ID Calls on iPhone with a Fake Contact
This clever method uses how your iPhone’s Contacts app manages contacts.
- Open the Contacts app and tap +.
- In the First name field of the new contact, enter No Caller ID.
- Tap add phone.
- Enter 000 000 0000 for the phone number.
- Tap Done to save the contact.
- Now you need to add this contact to your list of blocked callers. On the main screen of the Settings app, tap Phone.
- Tap Blocked Contacts.
- Scroll to the bottom and tap Add New…
- Scroll through your contact list and tap the new No Caller ID contact you just created.
- With the No Caller ID contact now added to the blocked contacts list, any caller with no caller ID info—a hallmark of spammers—will be sent right to voicemail.
If you reside in the United States, the American government can also assist you in banning unauthorised callers. Add your phone number to the Do Not Call Registry in your country.
FAQs
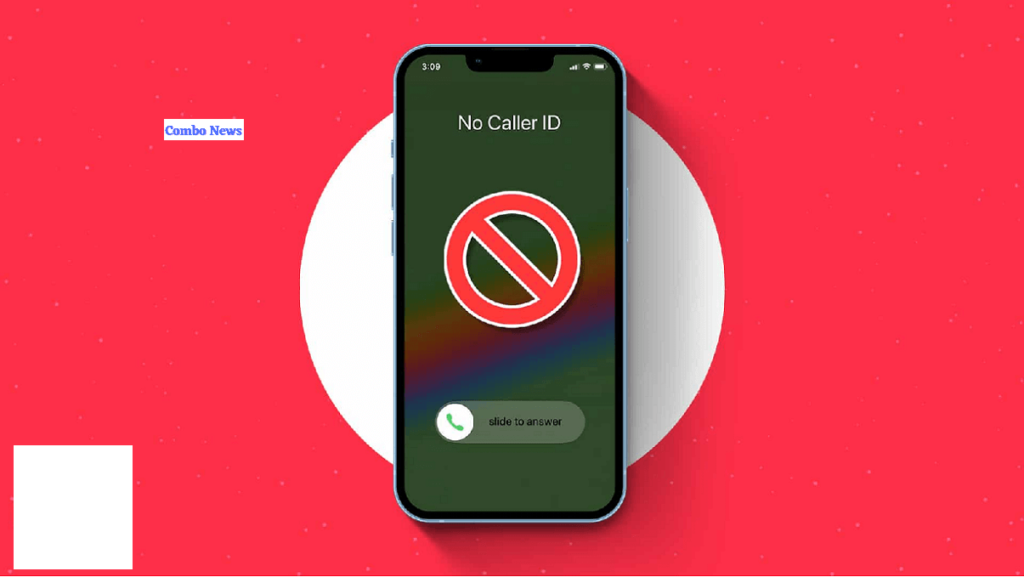
What does “No Caller ID” mean?
A caller that displays “No Caller ID” is trying to conceal their caller ID. They do this so that it will be more difficult to stop or track their calls, particularly if they are being used in scams.
How do I find out who called if they have no caller ID?
It’s challenging to identify the caller because they are disguising their phone number and masking their identity. It doesn’t really matter, though, because the caller is virtually always up to naught good if you see a call like this. It is best and simplest to perform the aforementioned actions to block them, or to hang up the phone when you see “No Caller ID.”