
Learn How to Transfer Files iPhone to Mac
From AirDrop to Email to iCloud Drive, here are 5 ways to Transfer Files iPhone to Mac
There are numerous simple, built-in ways to transmit data for free on Apple devices. Five of the most effective methods for Transfer Files iPhone to Mac are covered in this article.
How to Transfer Files iPhone to Mac
Transfer Files iPhone to Mac several technologies that make transferring files between them simple because they are both produced by Apple. There is no need for additional file transfer software when there are so many decent built-in solutions. Although the focus of this post is on Transfer Files iPhone to Mac, you may also use same methods to move files in the opposite manner.
Use AirDrop to Transfer Files iPhone to Mac
AirDrop is Apple’s wireless file-sharing technology. If your iPhone and Mac are physically close to each other, AirDrop is fast and super easy. Here’s what to do:
- AirDrop needs to be enabled on the iPhone as well as AirDrop needs to be enabled on the Mac.
- Select the files you want to transfer from iPhone to Mac.
- Tap the share sheet (the box with the arrow point up).
- Your Mac may show up as the first option in the top row. If so, tap it to transfer the file. If not, tap AirDrop.
- Tap the icon for your Mac to transfer the file.
How to Use Email to Transfer Files iPhone to Mac
Email has been a useful tool for exchanging information as long as we could attach files to emails. The average email account has a 25MB file attachment restriction, so if your file is under that size, proceed as follows:
- Select the file (again, we’re using a photo, but any app that supports emailing files works this way).
- Tap the share sheet.
- Tap Mail.
- Add your email address in the To: field (make sure this email is set up on your Mac).
- Tap the send button.
- On your Mac, open the email and download the attachment (if you’re using Mail, click the paper clip > Save All > choose where on your Mac to save the file).
Aslo Read: Apple iPhone 15: All you need to know
How to Transfer Files iPhone to Mac
In the beginning, syncing your iPhone with your computer was the only way to transfer files to a Mac. Even if that approach isn’t as popular now, it still works.
Not all apps allow for this type of file transfer, thus not all files on your iPhone can be transferred in this way.
- Connect your iPhone to your Mac via USB (you can also connect via Wi-Fi).
- Open a new Finder window (on Windows, open iTunes instead and skip to step 4).
- In the Locations section of the sidebar, click your iPhone (you may need to expand Locations by clicking it).
- Click Files.
- This shows apps on your iPhone that can transfer files to your Mac. Click each app’s down arrow to see its files.
- Drag and drop the file you want to transfer onto your desktop or elsewhere on your hard drive.
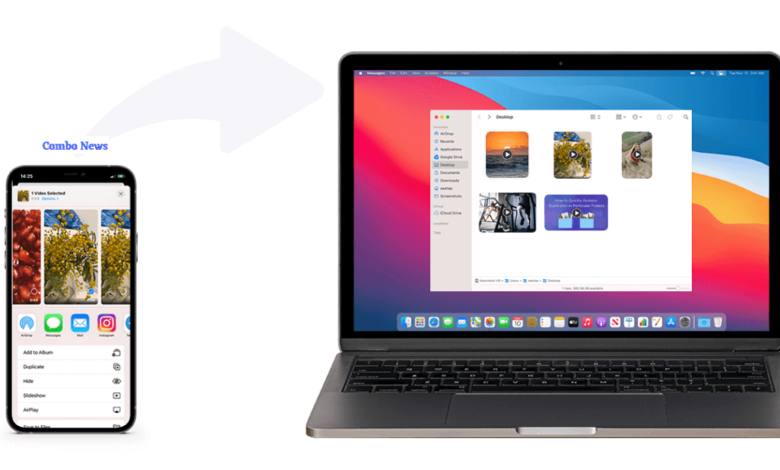
How to Transfer Files iPhone to Mac with iCloud Photos
Use iCloud images if all you want to do is transfer images. Using this built-in capability, your photos and videos are posted to the iCloud Photos section and downloaded to any Mac (or other connected device).
- On the iPhone, enable iCloud Photos by going to Settings > Photos > move the iCloud Photos slider to on/green.
- If you’ve got a lot of photos and videos, and this is the first time you’re enabling iCloud Photos, the upload to iCloud may take a while.
- On the Mac, open the Photos app and click Photos > Preferences.
- Check the box next to iCloud Photos. Any photo or video
on your iPhone will automatically be uploaded to iCloud Photos (this takes place in the background; you don’t need to do anything). The image or video will be there when you open the Photos app on your Mac again later.
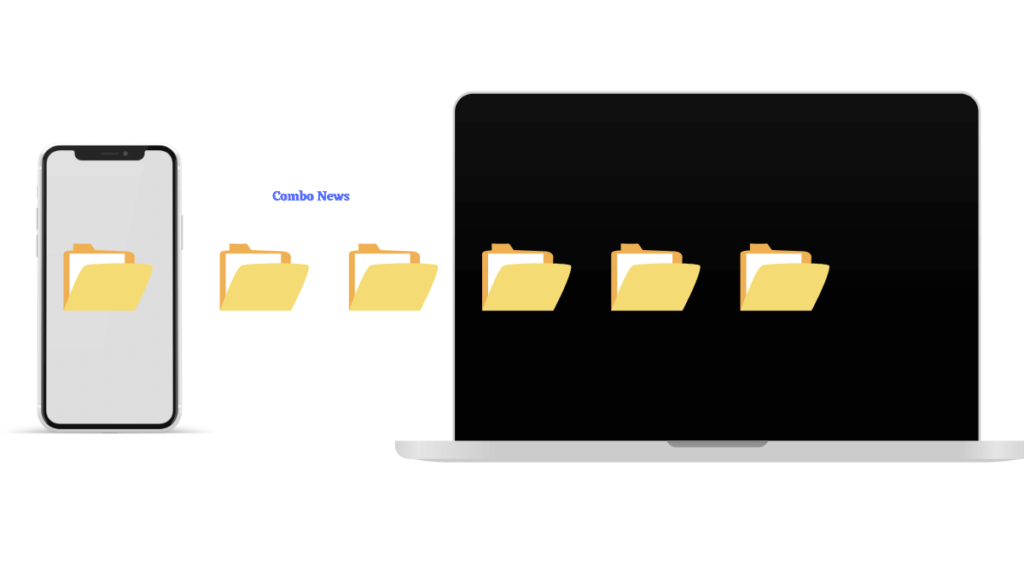
How to Use iCloud Drive to Transfer Files iPhone to Mac
All types of file transferring between devices is quite simple with Apple’s iCloud. What you should do is as follows.
Save your files to the Files app on your iPhone before attempting this type of transfer. The pre-installed Apple programmes Numbers and Keynote as well as third-party software like Microsoft Word and Excel all provide this option. To be sure you’re ready, make sure you save any files from those programmes to Files.
- To transfer files using iCloud, you need to sync with iCloud Drive. Start on the iPhone by tapping Settings.
- Tap [your name] > iCloud > iCloud Drive > move the Sync this iPhone slider to on/green.
- Next, enable the same kind of syncing on your Mac. Click the Apple menu > System Preferences.
- Click Apple ID.
- Click iCloud.
- Check the box next to iCloud Drive.
- Open a new Finder window and expand the iCloud section in the sidebar.
- Click iCloud Drive. All the files synced from your iPhone are present. Click the download icon to complete the transfer to your Mac.
iCloud Drive isn’t the only cloud service that allows for file syncing between devices. Dropbox, Google Drive, and other platforms can also transfer data, albeit the specific procedures vary depending on the platform.
FAQs
How do I transfer files between iPhones?
iCloud or iTunes both allow file transfers between iPhones. Alternately, you might transfer your old iPhone’s data to a new one. Use AirDrop to send individual files to a buddy from your iPhone.
How do I transfer files from an Android to an iPhone?
Use the Move to iOS app to move files from an Android device to an iPhone. Install the app on your iPhone and sign in with the same account you used on Android for cross-platform applications. Apps cannot be transferred.
How do I transfer files between two Macs?
Connect the Macs, then launch the Migration Assistant application on each machine to transfer files. Select From another Mac as the transfer method on the new Mac. Select To another Mac on the old Mac. MacOS also has AirDrop capability.
How do I transfer files from my Mac to an external hard drive?
Connect the external hard drive, then navigate to System Preferences > Time Machine > Select Backup Disc > Use Disc to back up your Mac to it. For routine automated backups, visit Back Up Automatically.
Also Read: XAI: Elon Musk Announces New Company